This standard operating procedure covers PPG's recommended process for sanding primer surfacer during your repair. Before beginning any repair, be sure to always wear the recommended safety protection for the job.
PD-0590: Primer Surfacer Sanding
Step-by-Step Instructions
- A technician should review a work order to ensure that all parts to be painted are present and repairs are understood.
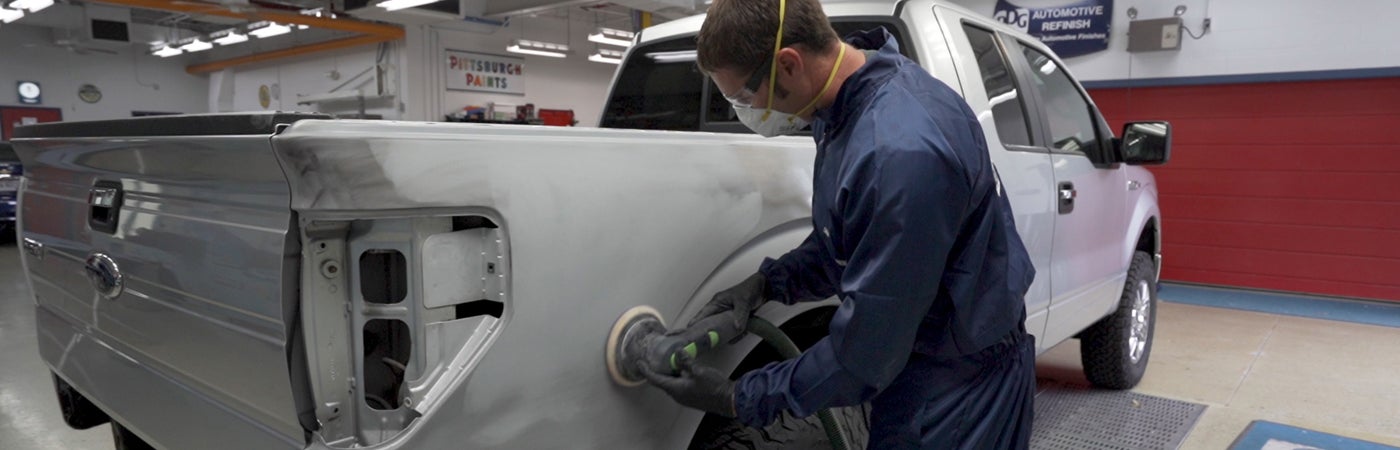
- Apply guide coat to identify any low spots, pinholes, or other surface imperfections when sanding a Primer Surfacer. Block sand the Primer Surfacer with P280-P320 grade paper using a sanding block until the guide coat is removed.
- Featheredged areas should be final sanded with P280-P320 grade paper. Scuff sand all recessed areas and panel edges with a general-purpose scuff pad or equivalent.
- Re-apply guide coat and final sand with P400 grade paper by hand and a foam block or a DA sander and interface pad until the guide coat is removed.
- Re-clean the repair area with a regionally approved surface cleaner. Dry thoroughly with clean towels.
- If any bare metal is exposed, an Etch Primer, chemical metal treatment, or Epoxy Primer is recommended to be applied before additional Primer Surfacer or Primer-Sealer.
- If applying Primer-Sealer over the Primer Surfacer, final sand the Primer Surfacer with the recommended grade paper according to the Primer-Sealer Product Data Sheet.
- If applying basecoat over the Primer Surfacer, final sand Primer Surfacer with the recommended grade paper according to the basecoat color system Product Data Sheet
You're now ready to proceed to preparing the panel for a spot repair, following the process instructions for a basecoat blend.