When the assignment is to restore the body of a rare, highly collectable car such as Rick Nelson’s ’69 Yenko Chevelle barn find, it demands a top-tier, concours-quality paint finish. In this Tech Talk Jamie Cooper highlights the steps he and his crew took to restore the Chevelle’s Garnet Red finish using PPG products and the Envirobase® High Performance paint system.
Show-Quality Finish - Jamie Cooper
Tedious attention to detail at Super Car Restorations makes all the difference
Step 1 - Applying Epoxy Primer
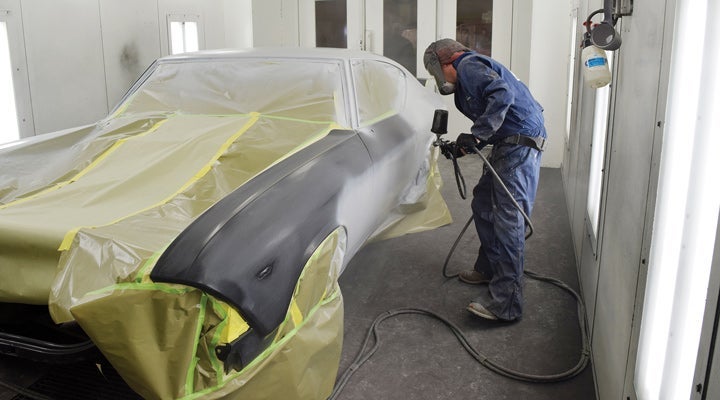
Recoating panels are coated and baked with DP90LF Epoxy Primer to provide excellent corrosion protection and good adhesion for the bodywork. The black color presents a good visual for determining how straight the panels are.

Step 2 - Sanding and recoating
After sanding, two more coats of DP90LF are applied to cover any bare metal left by the bodywork. After a one-hour bake, the primer is allowed to dry for several weeks before being sanded, cleaned and readied for polyester primer. On restorations, baking of undercoats helps with curing and is not needed on normal collision jobs.
Step 3 - Finishing Glaze
After sanding, pinholes are identified and filled with 3M Finishing Glaze.
Step 4 - Applying Primer Surfacer
Applying VP2100 Polyester Primer helps level and fill minor imperfections. Aided by a dry guide coat, the surfaces are block sanded smooth, beginning with 220-grit board paper.
Step 5 - Applying Primer Surfacer
The body is primed with ECP A-Chromatic Primer Surfacer, using the recommended G7 gray shade for the Chevelle's Garnet Red color.
Step 6 - Sanding the Primer
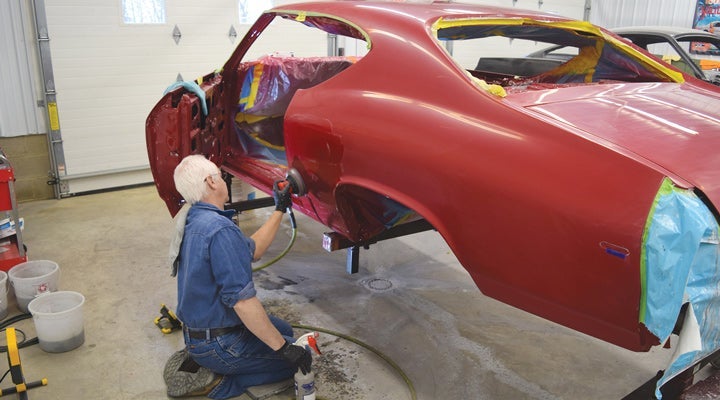
The primer surfacer is block sanded with 400-grit, followed by 600-grit, then DA sanded with 800-grit. The orbital sander removes any straight-line scratches from block sanding. Dry guide coat is applied between every stage to ensure that any sand scratches are removed.
Step 7 - Color Matching
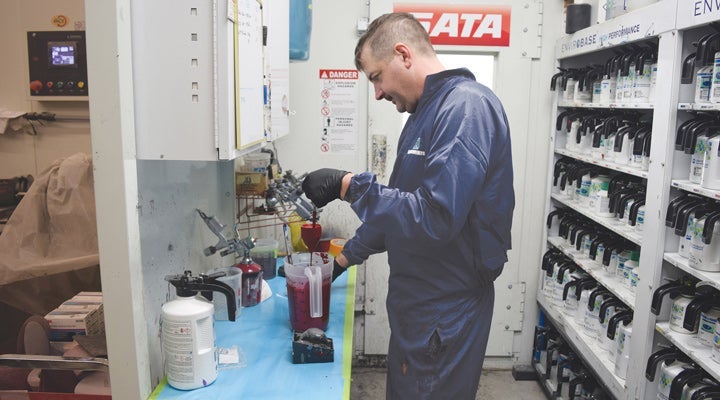
A sample of the Chevelle's original paint finish from the side of the cowl area was sent to PPG's color lab in Cleveland, Ohio. The part was never exposed to the sun, so it wouldn't have faded over the years. PPG analyzed the color and sent us the proper formula to create the exact factory match.

Step 8 - Applying the Color
Three coats of Envirobase® High Performance waterborne basecoat are applied. For extra measure we allowed 30 minutes dry time between coats. Each coat is dehydrated using a Jet Dry handheld blower.
Step 9 - Applying Clearcoat
Four coats of EC550 EN-V® Ultra Gloss Clearcoat are applied and baked for one hour. Afterward, we let the finish air dry for at least four weeks before wet sanding and buffing.
Step 10 - Wet Sanding
The clearcoat is wet sanded, beginning with 600-grit, then 800. After baking the car a final time to ensure all solvents were released, block sanding continued, progressing from 1,000-grit on up to 2,500-grit.
Step 11 - DA Sanding
Sanding is completed with a DA sander to remove any straight-line scratches, using 3,000- and 5,000-grit. In total, the sanding process from 800- to 5,000-grit took more than 140 hours.
Step 12 - Buffing
The buffing process took some 40 hours, starting with Meguiar's 100 Pro Speed Compound, followed by 205 Ultra Finishing Polish.

