Whether you're looking for an eye-catching fill or a background for pinstripes or artwork, the fish scale technique is a timeless choice. In this tutorial, Chris uses a traditional circular scale, but other shapes work just as well. With a little imagination and experimentation, you’ll be able to create a wide range of patterns and effects.
Fish Scale Effect – Chris MacMahan
Chris MacMahan shows how to create a classic fish scale effect
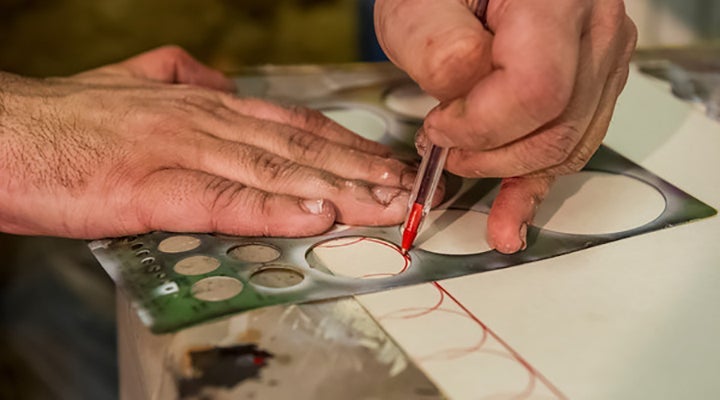
Step 1 - Drawing the Pattern Guide
Chris uses a template to create the pattern of overlapping circles. Generally, the "scale" size should be big enough to fill the space without appearing busy. Use your best judgment.

Step 2 - Cut The Guide
Your pattern should be drawn on a light cardstock, about the thickness of a business card - heavy enough not to become soggy and tear, light enough to cut cleanly with scissors or a craft knife.
Step 3 - Panel Prep
To ready the panel for the tutorial, it was covered with Deltron® 2000 DBC Bright Silver (5464). Over that, two color layers from the Vibrance Collection® were added, each fogged toward the center - Radiance® II Yellow (DMX210), then Green (DMX217). Each toner was added to a 1:1 mix of Deltron DBC500 Color Blender and DT870 reducer.
Step 4 - Airbrush Selection
Any general-purpose airbrush, single or double action, can be used to achieve this effect. Chris recommends a medium sized tip at 40 psi. "The higher pressure allows me to use the airbrush as a mini paint gun and put on a wash of color."
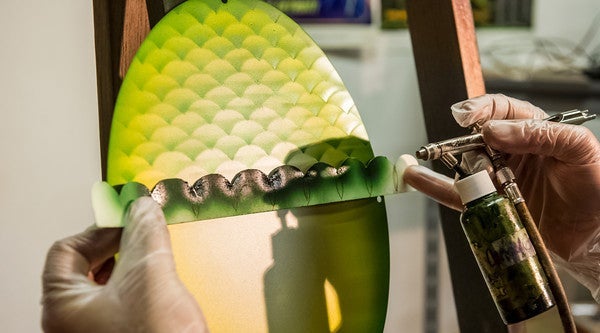
Step 5 - Spraying
Placing the template against the surface, Chris sprays a line of the Radiance® II Green. The green is solid at the bottom of the "V" and fades upward. Keep the template and the spray motion as horizontal as possible

Step 6 - Row Symmetry
Aligning the scales is simple - the center of each circle slightly overlaps the bottom of the "V" on the row above. Spacing between the rows is a matter of personal taste. Here, Chris uses a tight formation for a more intense pattern.
Step 7 - Template Saturation
The template will be covered with many layers of paint. To maintain a crisp pattern, allow the template to dry for a minute every few rows, or create more than one template.
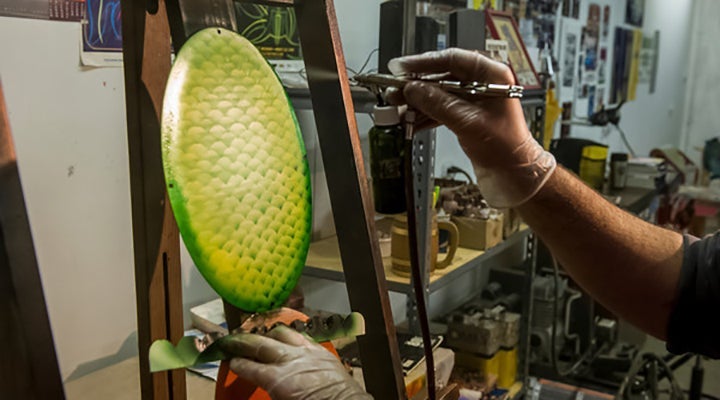
Step 8 - Solid Border
Once all the rows have been sprayed, Chris fogs the outer edge of the panel with several layers of Radiance® II Green (DMX217) until the color is intense.

Step 9 - Ready For Anything
From here, your options are wide open. The design stands on its own, so you could add a midcoat, or go straight to clear. Chris also suggests that the pattern can be a bed for pinstripes, lettering or artwork (see example). "As a background, fish scales can push any job over the top."
