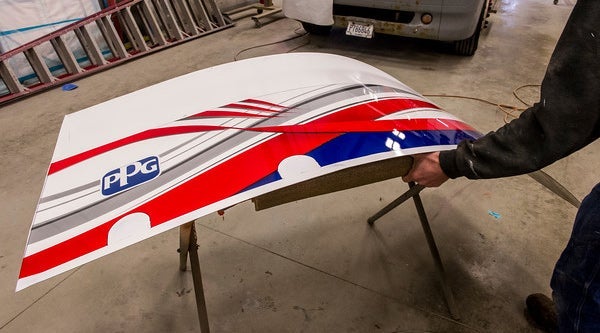
Bringing the show truck's grand design to life required a different approach than most custom paint jobs - the use of large stencils over the length of the trailer. "Our stencils are paperbacked like a decal. They remove easily and give crisp lines," says Chris Mayernick, lead painter on the project. "The stencils worked out really well for the PPG logo. That’s not something you want to lay out by hand."
How the Graphic Design Was Achieved on PPG's New Show Truck
With multiple painters working on the project, good communication was critical. "Our team and PPG support went through the process as a group. We brainstormed, took a lot of notes," says Chris Hansen, general manager of the Gerber Collision & Glass Rapids, Mich., location. "It's a very important part of the way we work."
For this project, the Gerber team used Delfleet® Evolution paint system. Geared especially for large paint projects, its outstanding color strength and midcoat compatibility made it ideal for this high-profile assignment.
Learn how the team created the dazzling finish
Step 1 - Mock Up
The team started with a 3'x6' spray out of the design, using the actual colors and pearls. "It helped tremendously in figuring out the fades and how the colors overlapped," Hansen says.

Step 2 - Tri-Coat Base Color
After the trailer was prepped and primed, the Gleaming White basecoat was applied, providing a shimmering, bright contrast to the red and blue strips. "This white really jumps out at you and stands out in the sun," explains Mayernick.
Step 3 - Stencil Application
A light film of soapy water was applied to the trailer's surface, making it easier for fine adjustments when positioning the stencils, which were produced by Extreme Graphix of Grand Rapids.
Step 4 - Stencil Tailoring
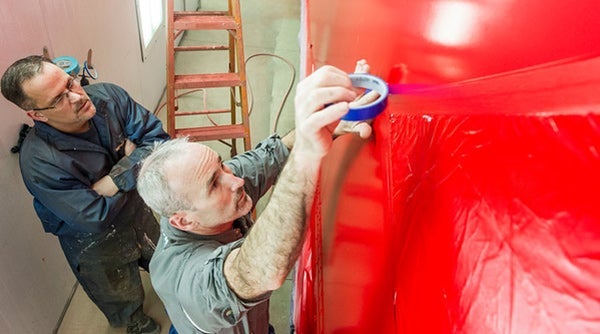
The longest stencil was applied in six sections. "Not all the edges lined up, so we razor-cut or fine-lined as needed to make sure everything was straight," Mayernick explains.
Step 5 - Tri-Coat Colors
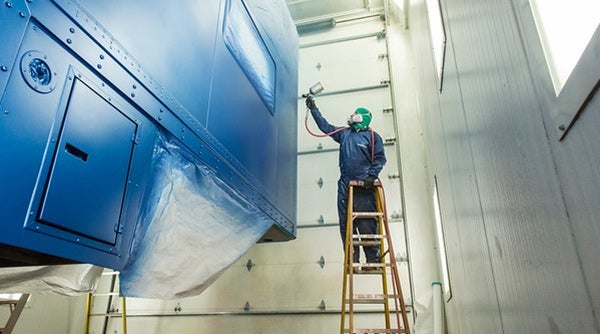
Spraying the long layers of reds and blues required frequent ladder moves. Since Delfleet® Evolution basecoat is designed to stay wetter longer, it made it easier to achieve a seamless, continuous coat.

Step 6 - Stencil Removal
The type of glue used is critical to easy stencil removal. If you are applying your own, make sure to use the right formulation for the job. Too much tack in the glue will make the stencil difficult to remove.
Step 7 - Freehand Designs
Additional stencils are used to build design layers. Some visual elements, such as the stars, are laid out by hand.

Step 8 - Clearcoat
The trailer was topped with F3921 Polyurethanec Clearcoat. It's the perfect way to protect this star-spangled design.
