Paul Stoll, PPG training instructor and custom paint artist, shows how to create a marbleized effect for that unique, free-form look on small objects.
Marble Effect - Paul Stoll
In this example, Paul chose two translucent toners from the Envirobase® High Performance mixing cabinet and applied shades of Rose (T438) and Violet (T443) over the marble effect.
IDEAL FOR SMALL PARTS - Since dipping the part in water creates this effect, it works best for small parts such as a motorcycle tank or helmet. In this example, we're using a display tank that’s been pre-painted with white pearl base, clearcoated, sanded and masked off.
Paul's Steps for Creating a Marbleized Effect
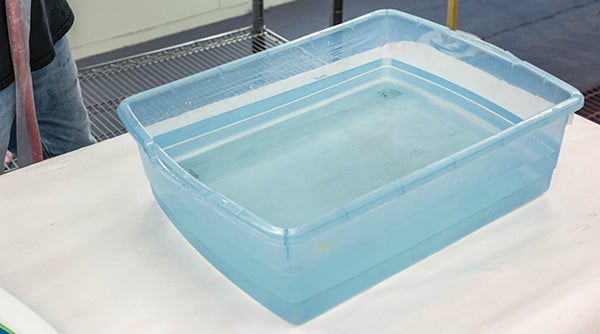
Step 1 - Prepare Water
Prepare a tub containing hot/warm water, at least 72°F. Adding some Borax™ detergent booster to the water will further help float the paint on top. If the water is too cold, the paint will sink to the bottom.

Step 2 - Mix Color
Prepare your color mixture in the paint cup. Start with VWM500 custom midcoat, then add 5% of the Radiance® II dye. In this example we're using DMX219 Black. Then, reduce this mixture 100% with a slow reducer compliant for your region.
Step 3 - Adjust Spray Gun
Load your touch-up spray gun and turn the air pressure way down.
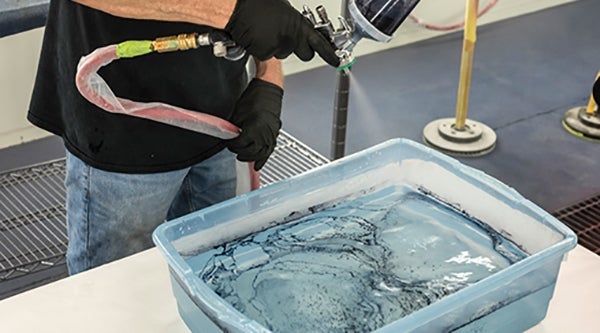
Step 4 - Spray
Spray the dye in short spurts on the water to create rings of the dye swirling on top.

Step 5 - Stir
Moving quickly, use your gloved finger or a stir stick to move the dye around until it forms a pattern to your liking.
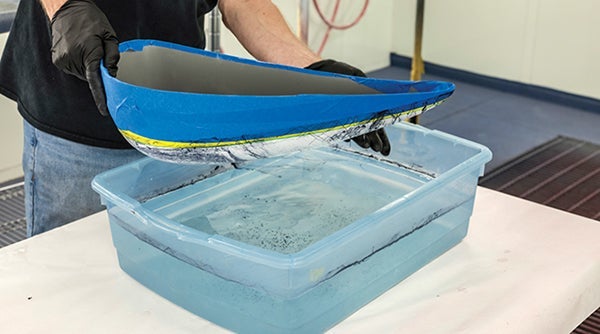
Step 6 - Dip
Choose an area where the swirls on the water are most appealing and carefully dip the part up to where it's been masked, into the water. Let the part sit for a few seconds.

Step 7 - Remove
Pull the part straight up from the water slowly and remove any paint dangling from the part before turning it over.
Step 8 - Finished Product
That’s how simple it is to create the marble effect. Since the black dye is transparent, the white pearl shows through it.
Step 9 - Optional Translucent Color
Now you can stop here and clearcoat the effect as a finished product. Or you can take the project one step further and apply coats of translucent color before clearcoating.
